The Flying V-ish

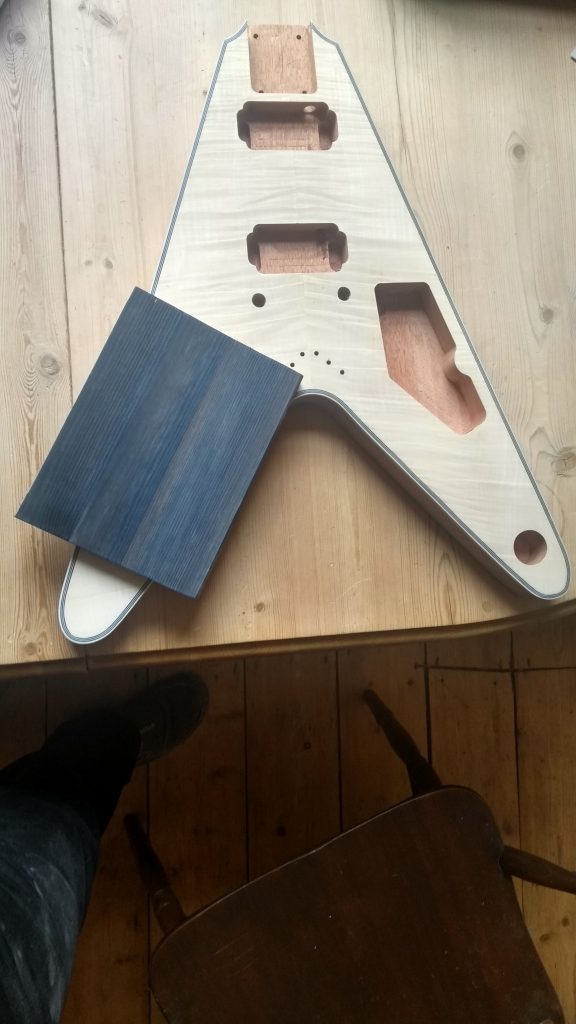
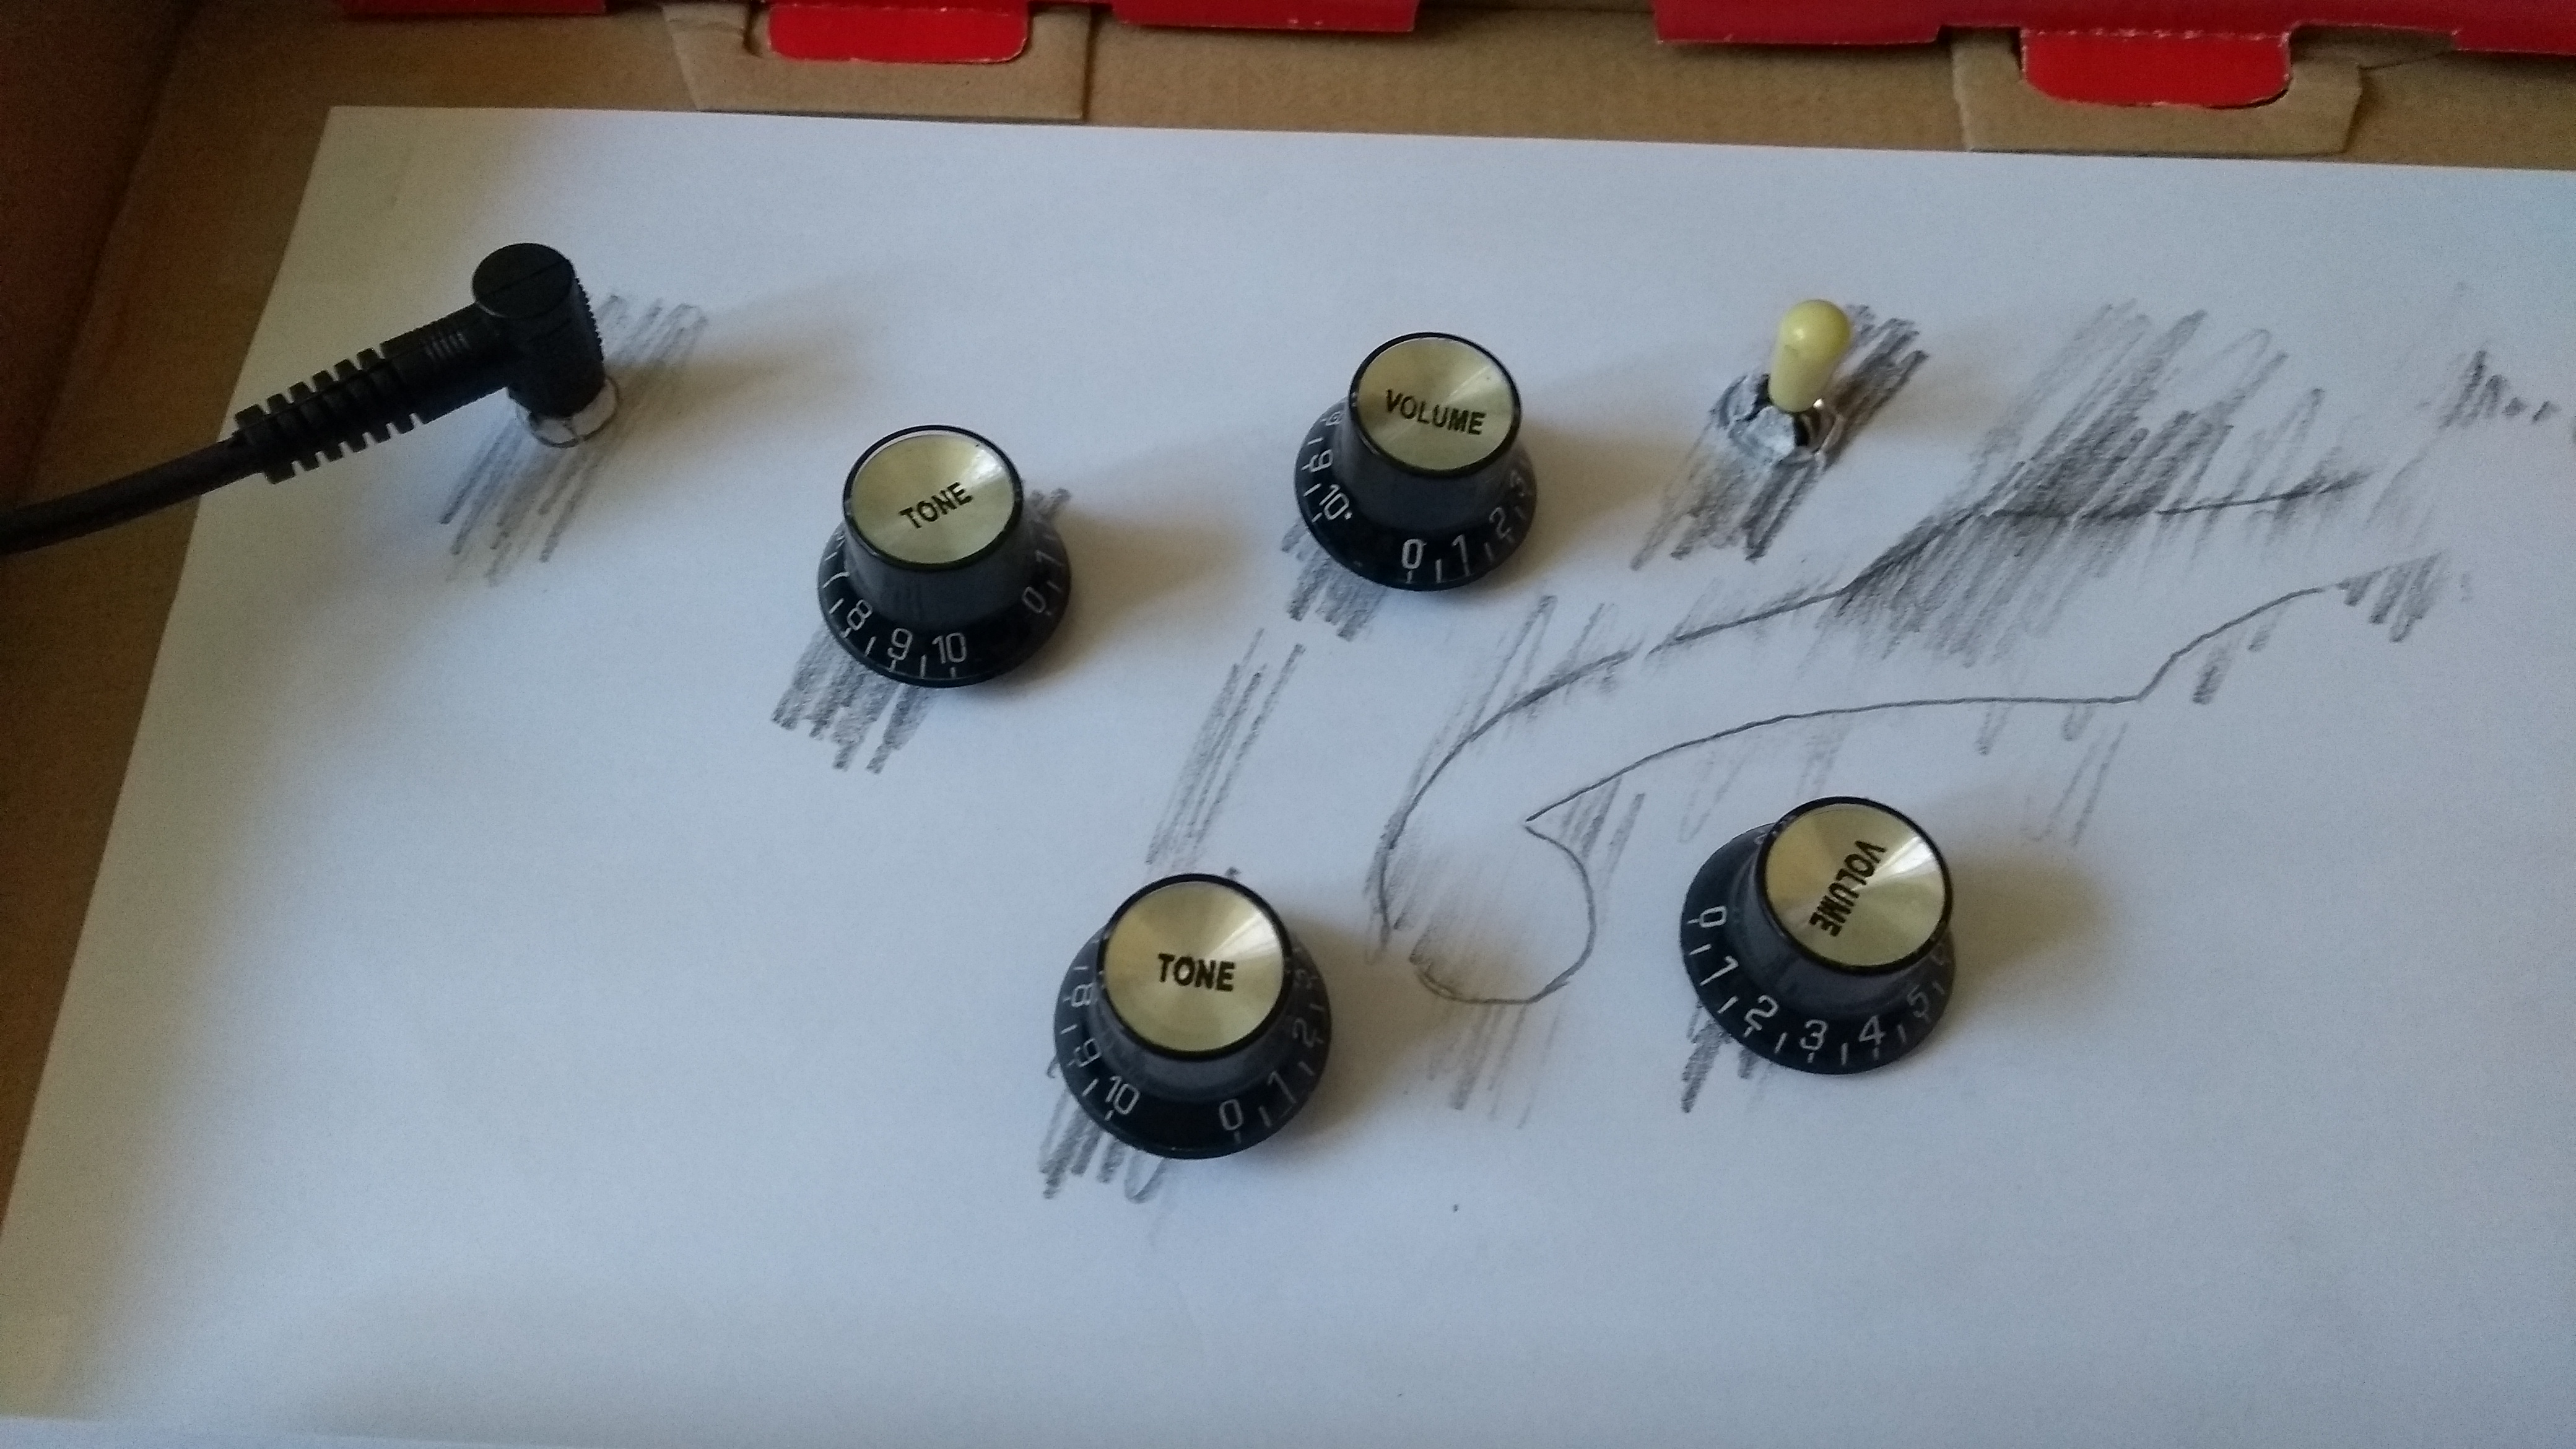
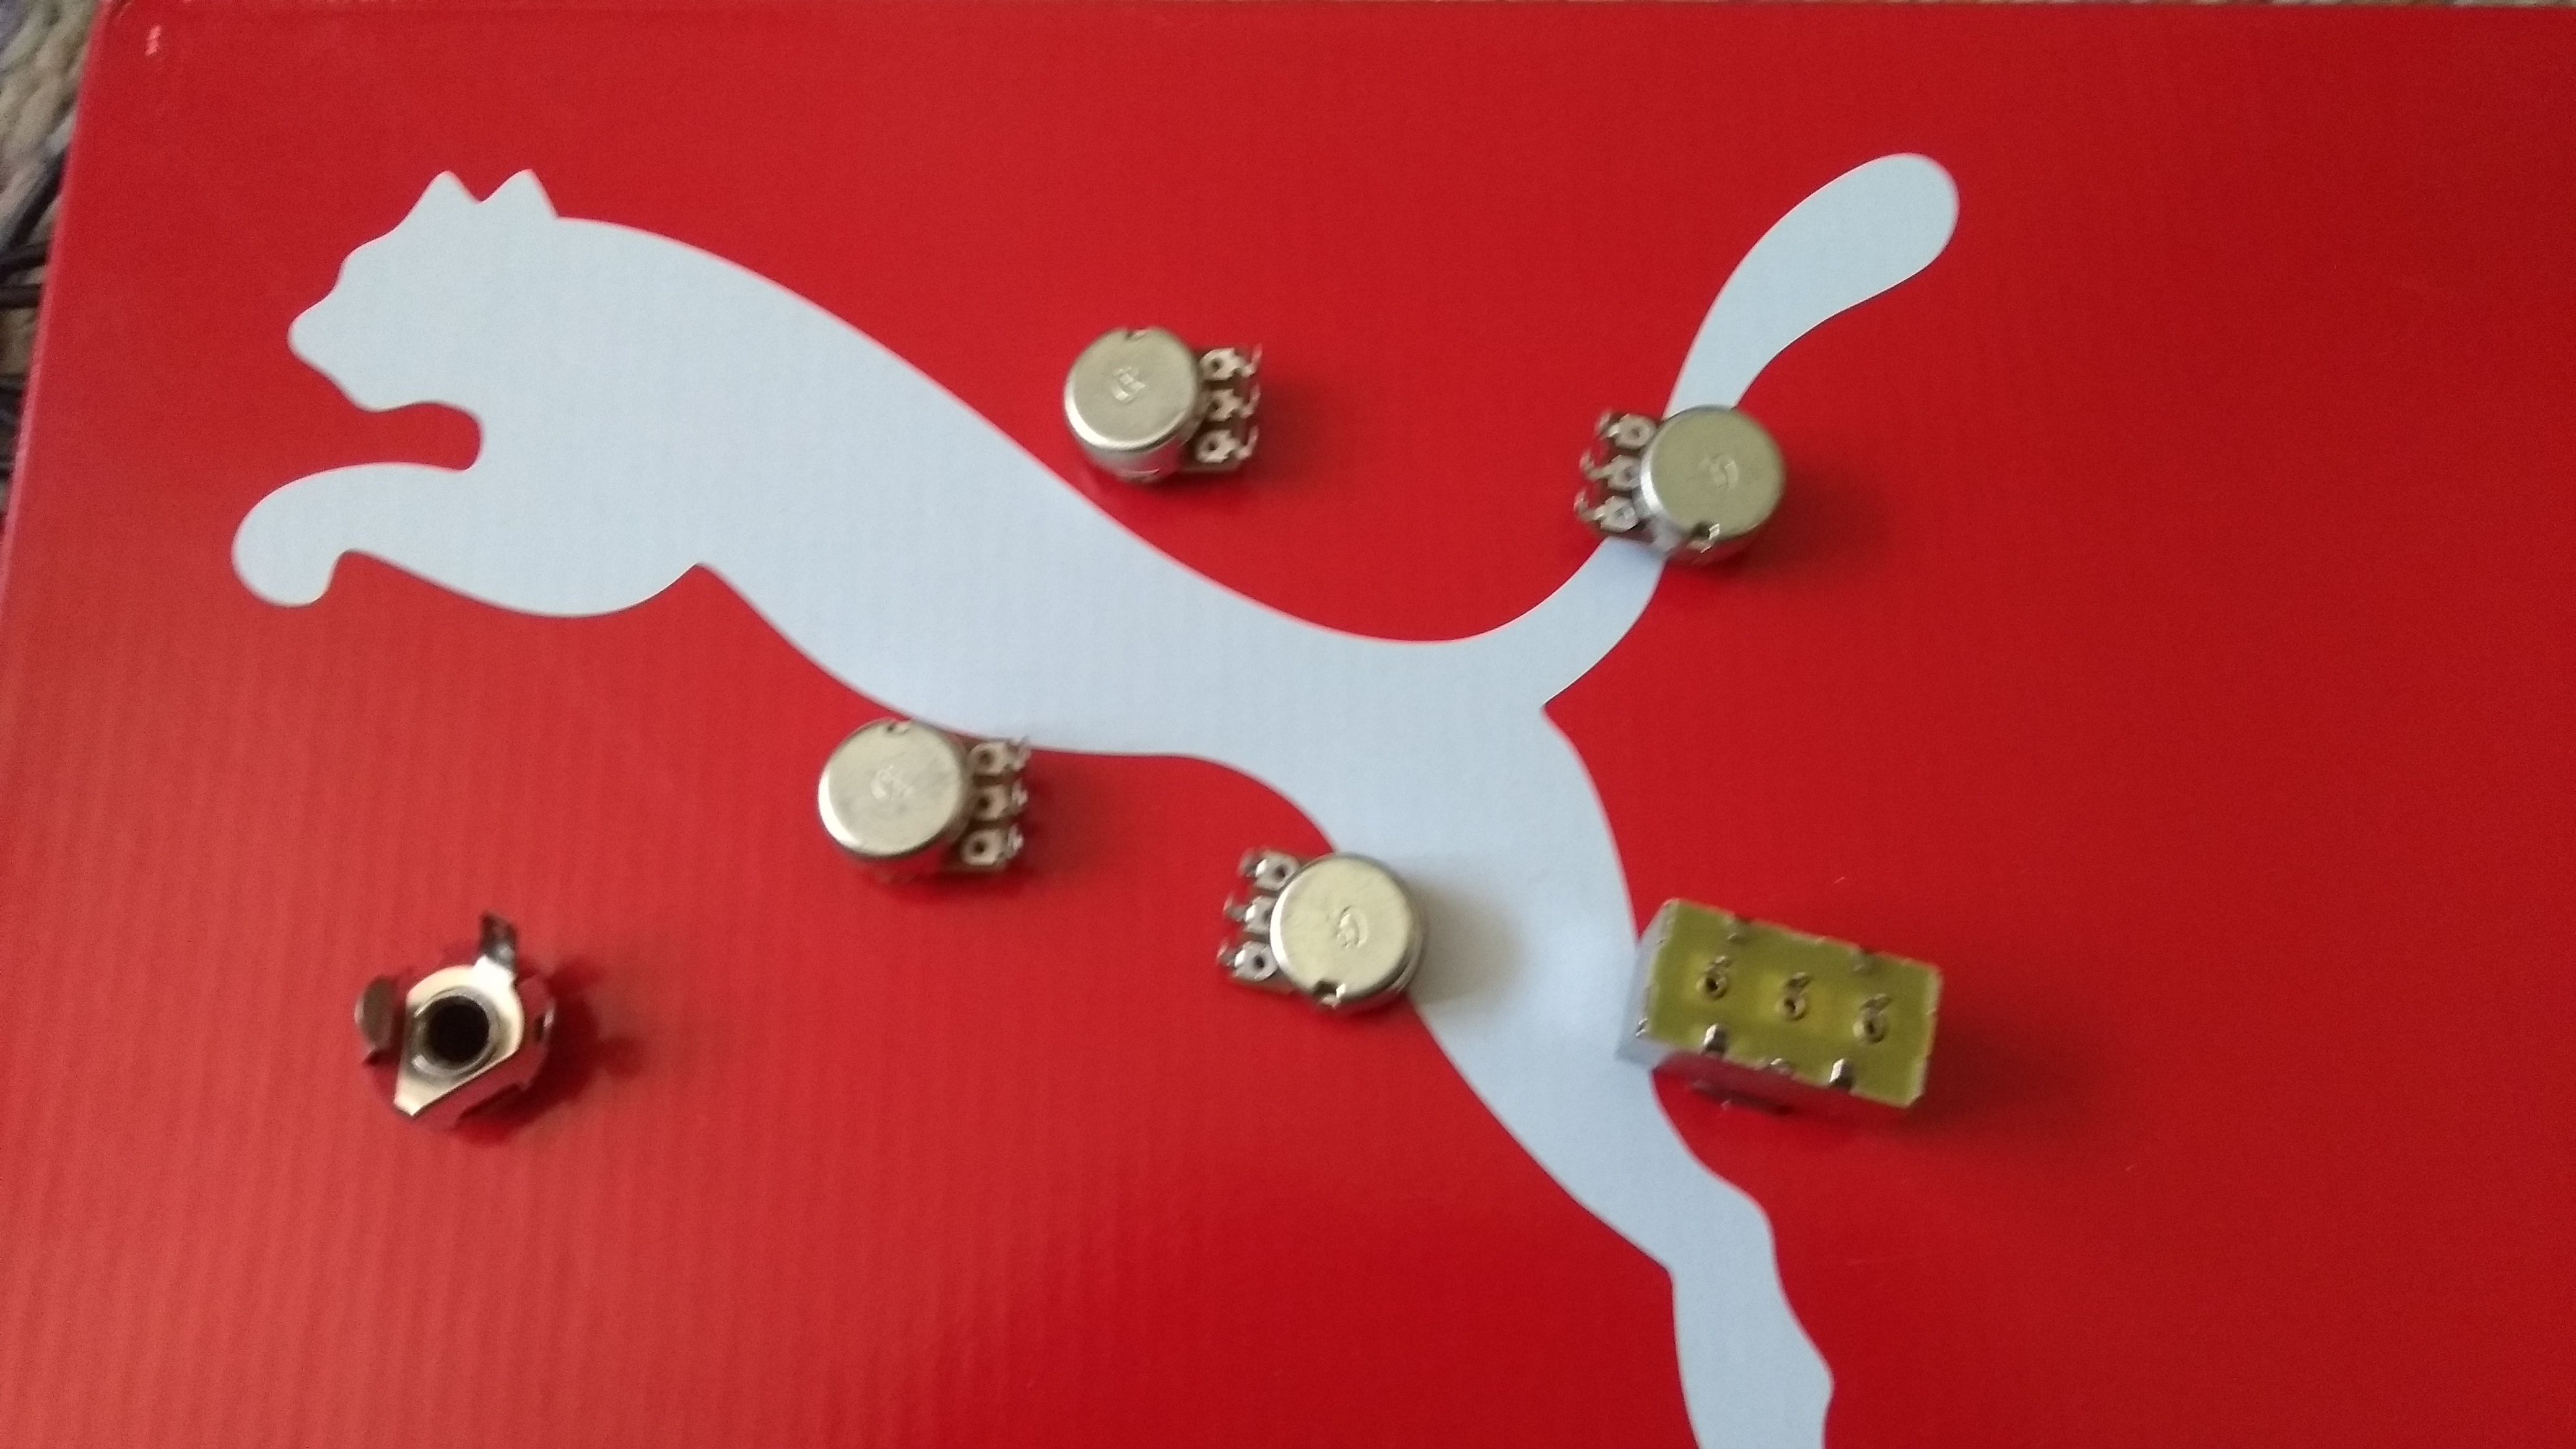
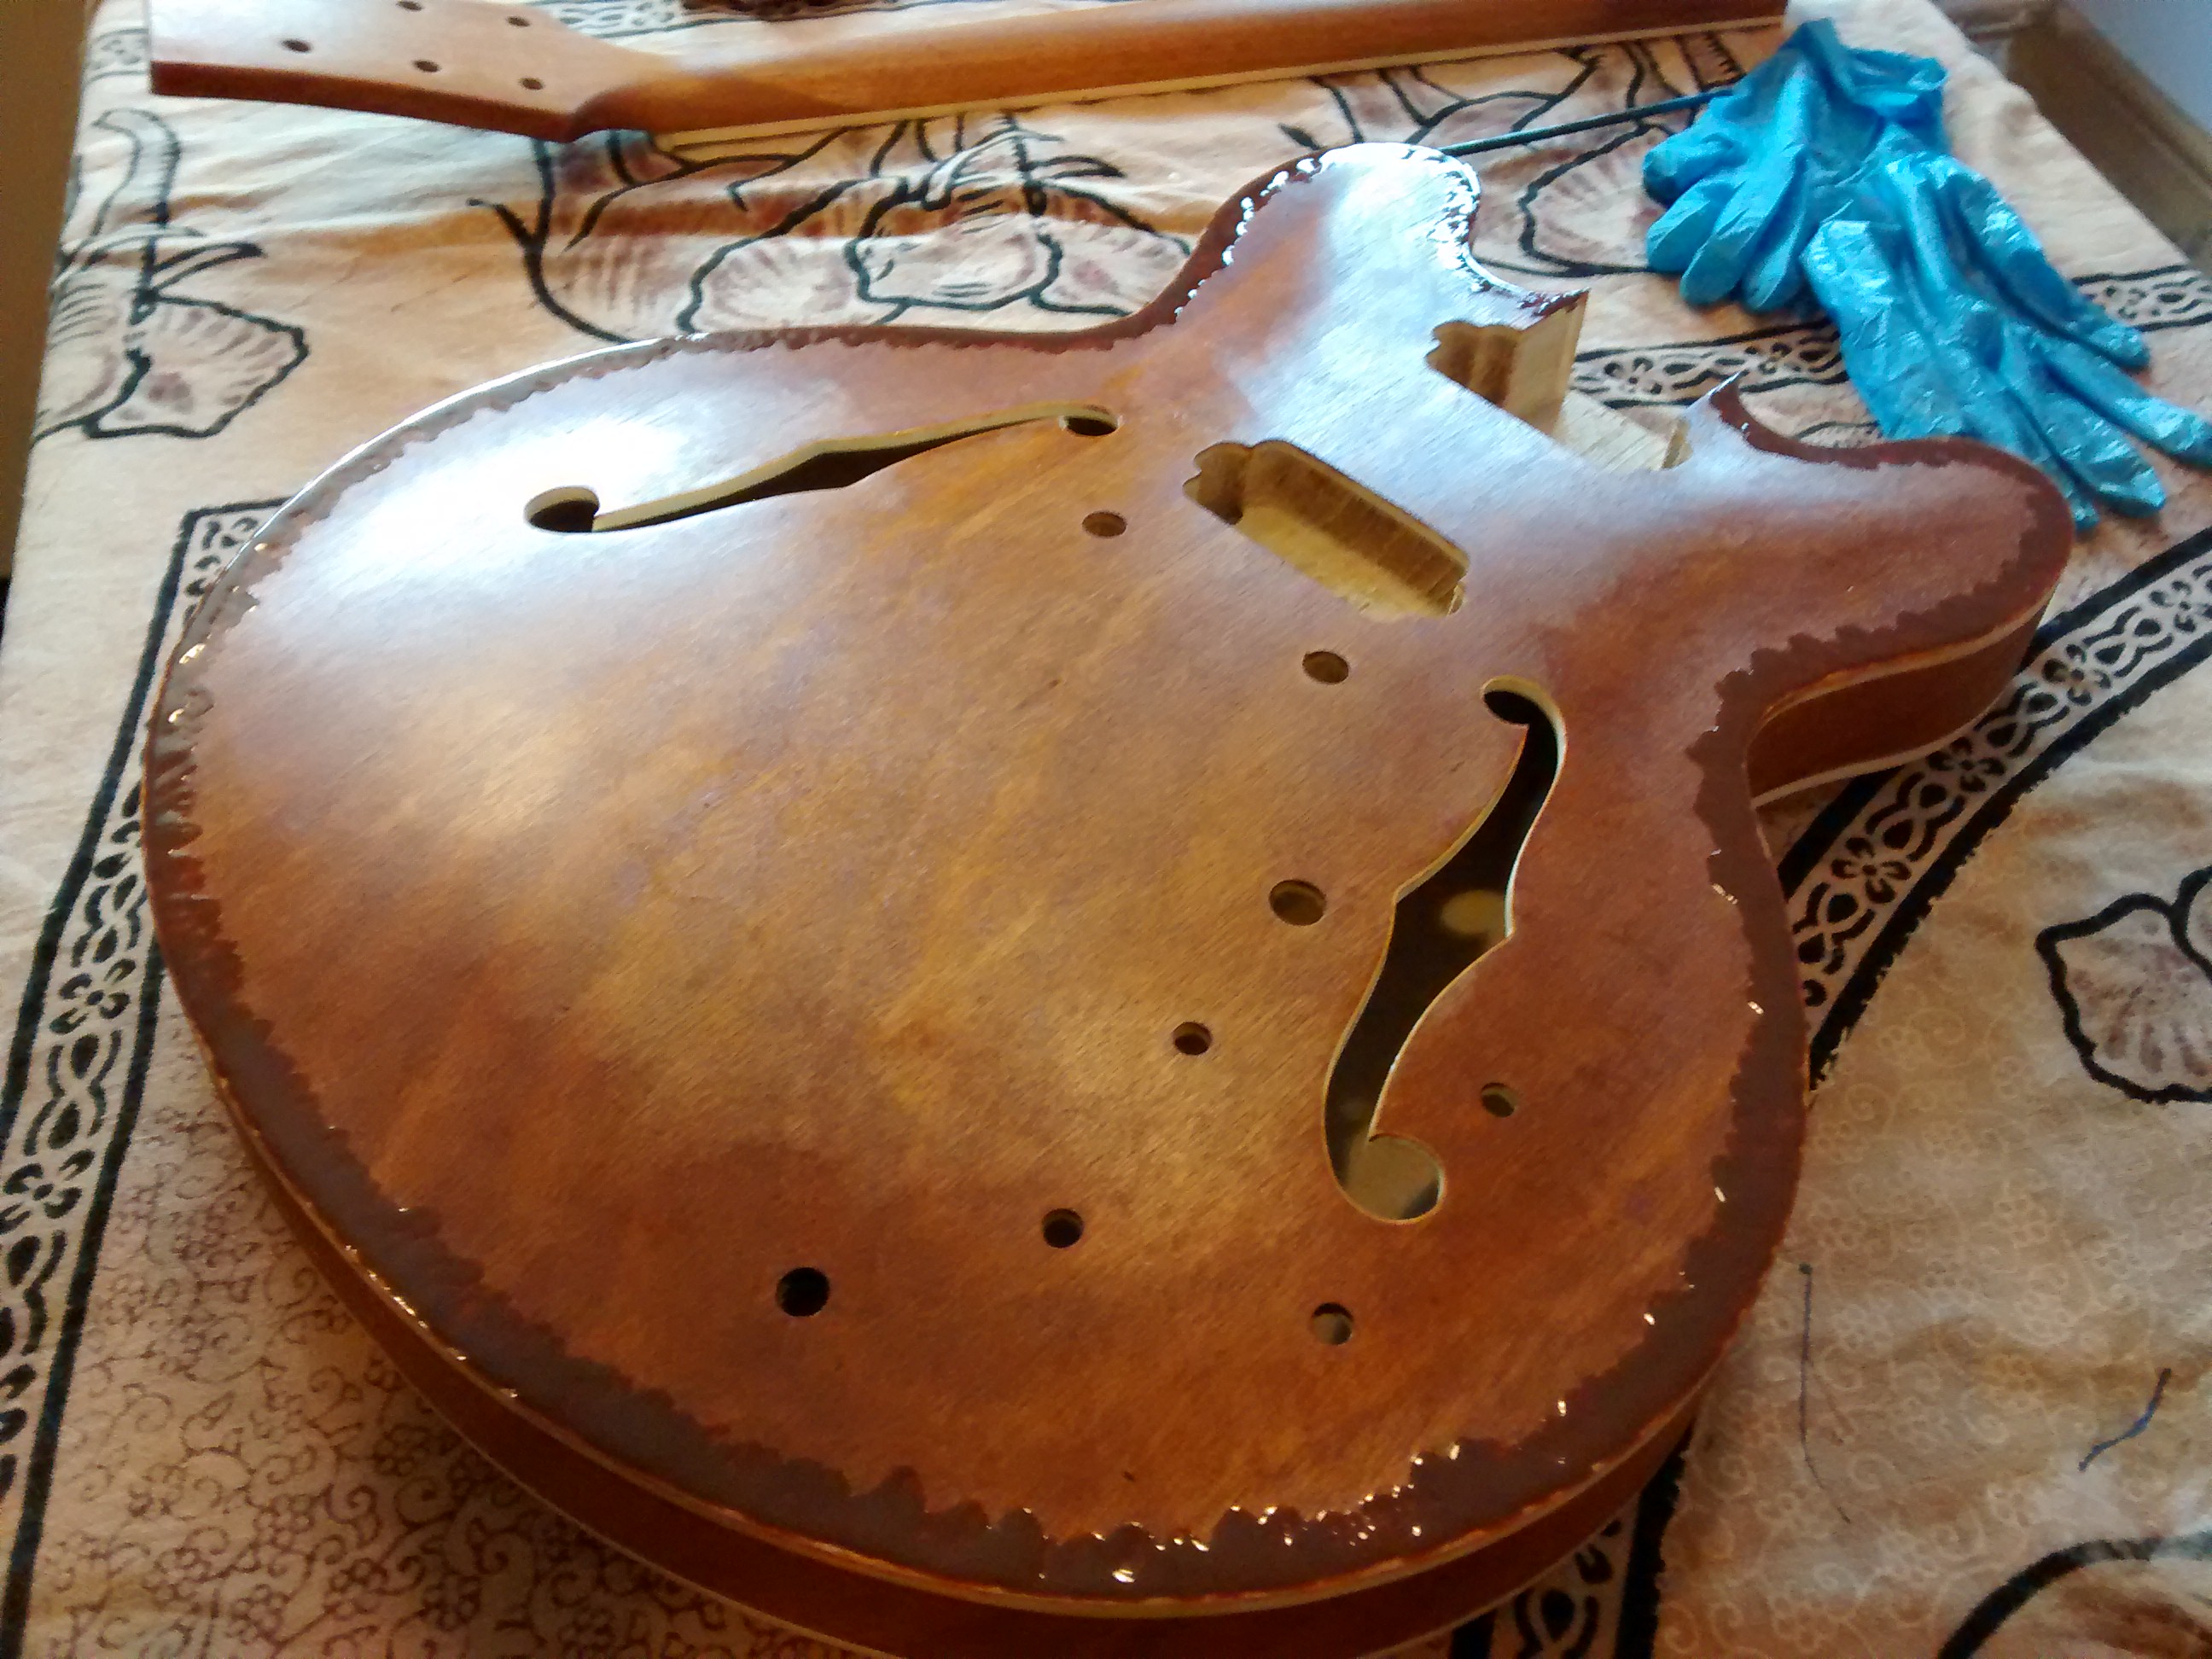
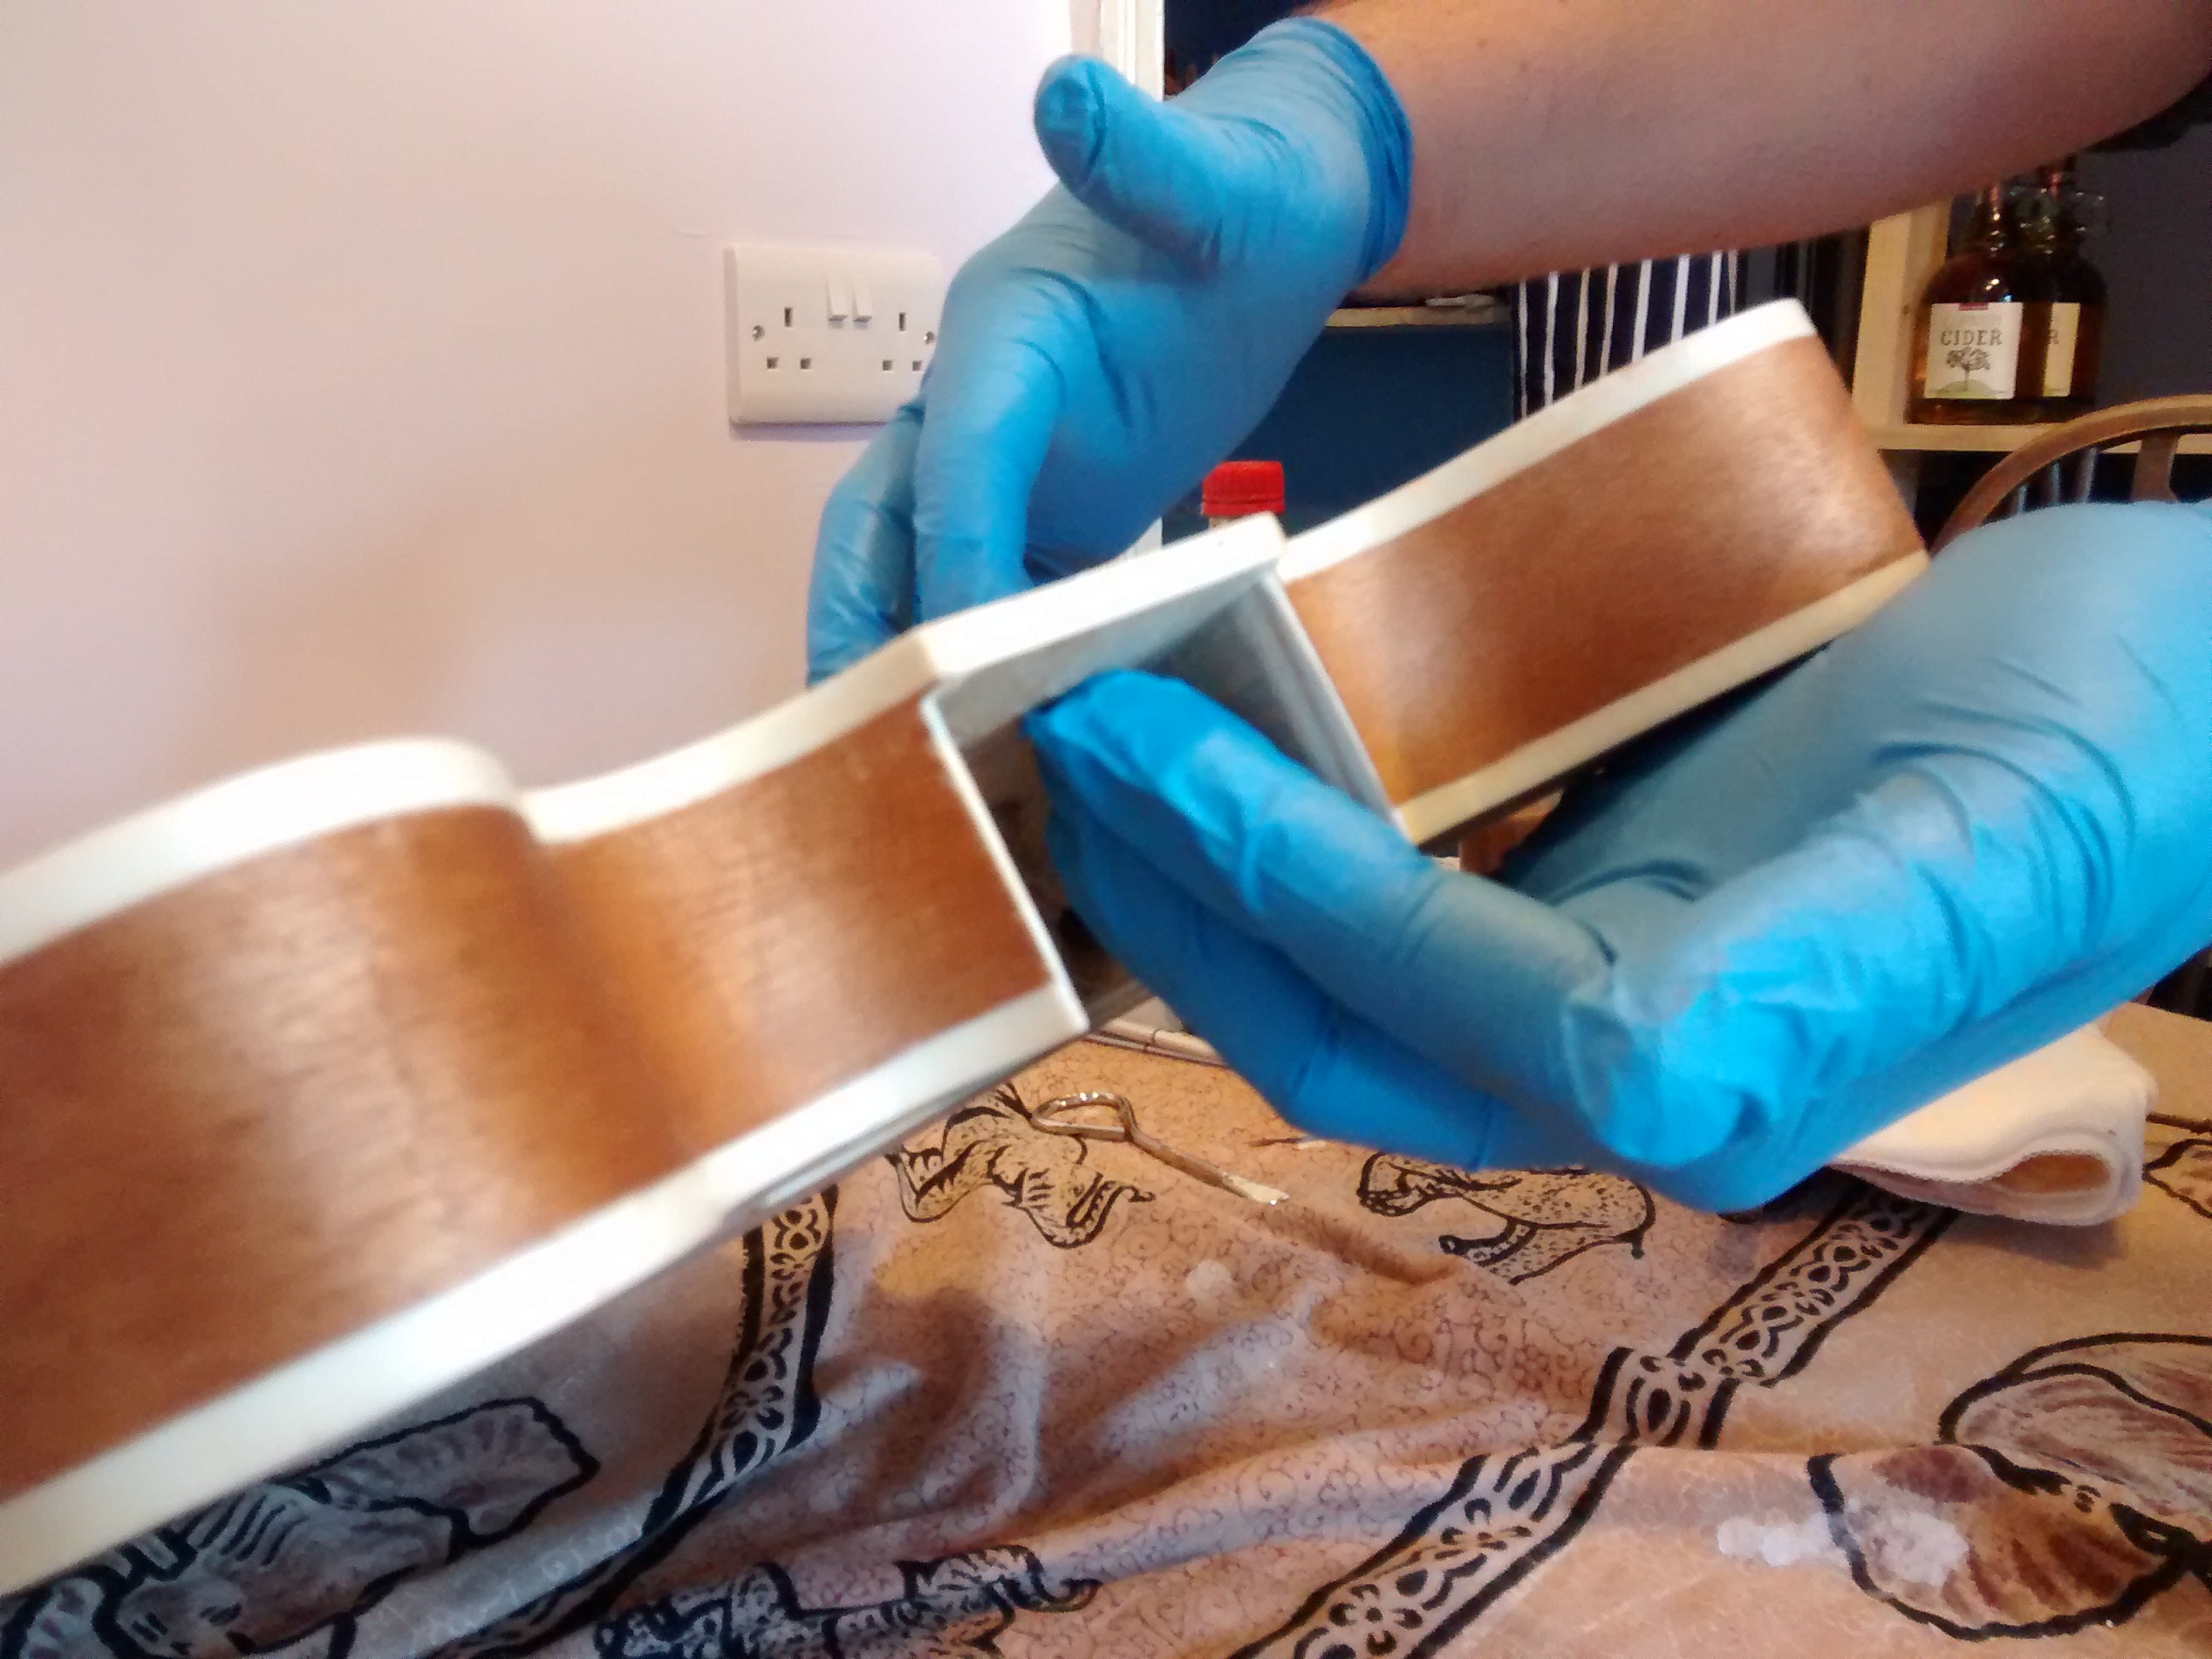
It’s taken a long time but I’ve finally got around to starting my next guitar build. Carolyn bought me a flying-v-type kit from https://www.pitbullguitars.com/ with a book-matched veneer top so I’ve been trying to figure out how to finish it to do justice to the wood figuring.

I’ve spent a bizarre amount of time on YouTube watching videos from https://www.crimsonguitars.com/ about different wood-stain techniques.

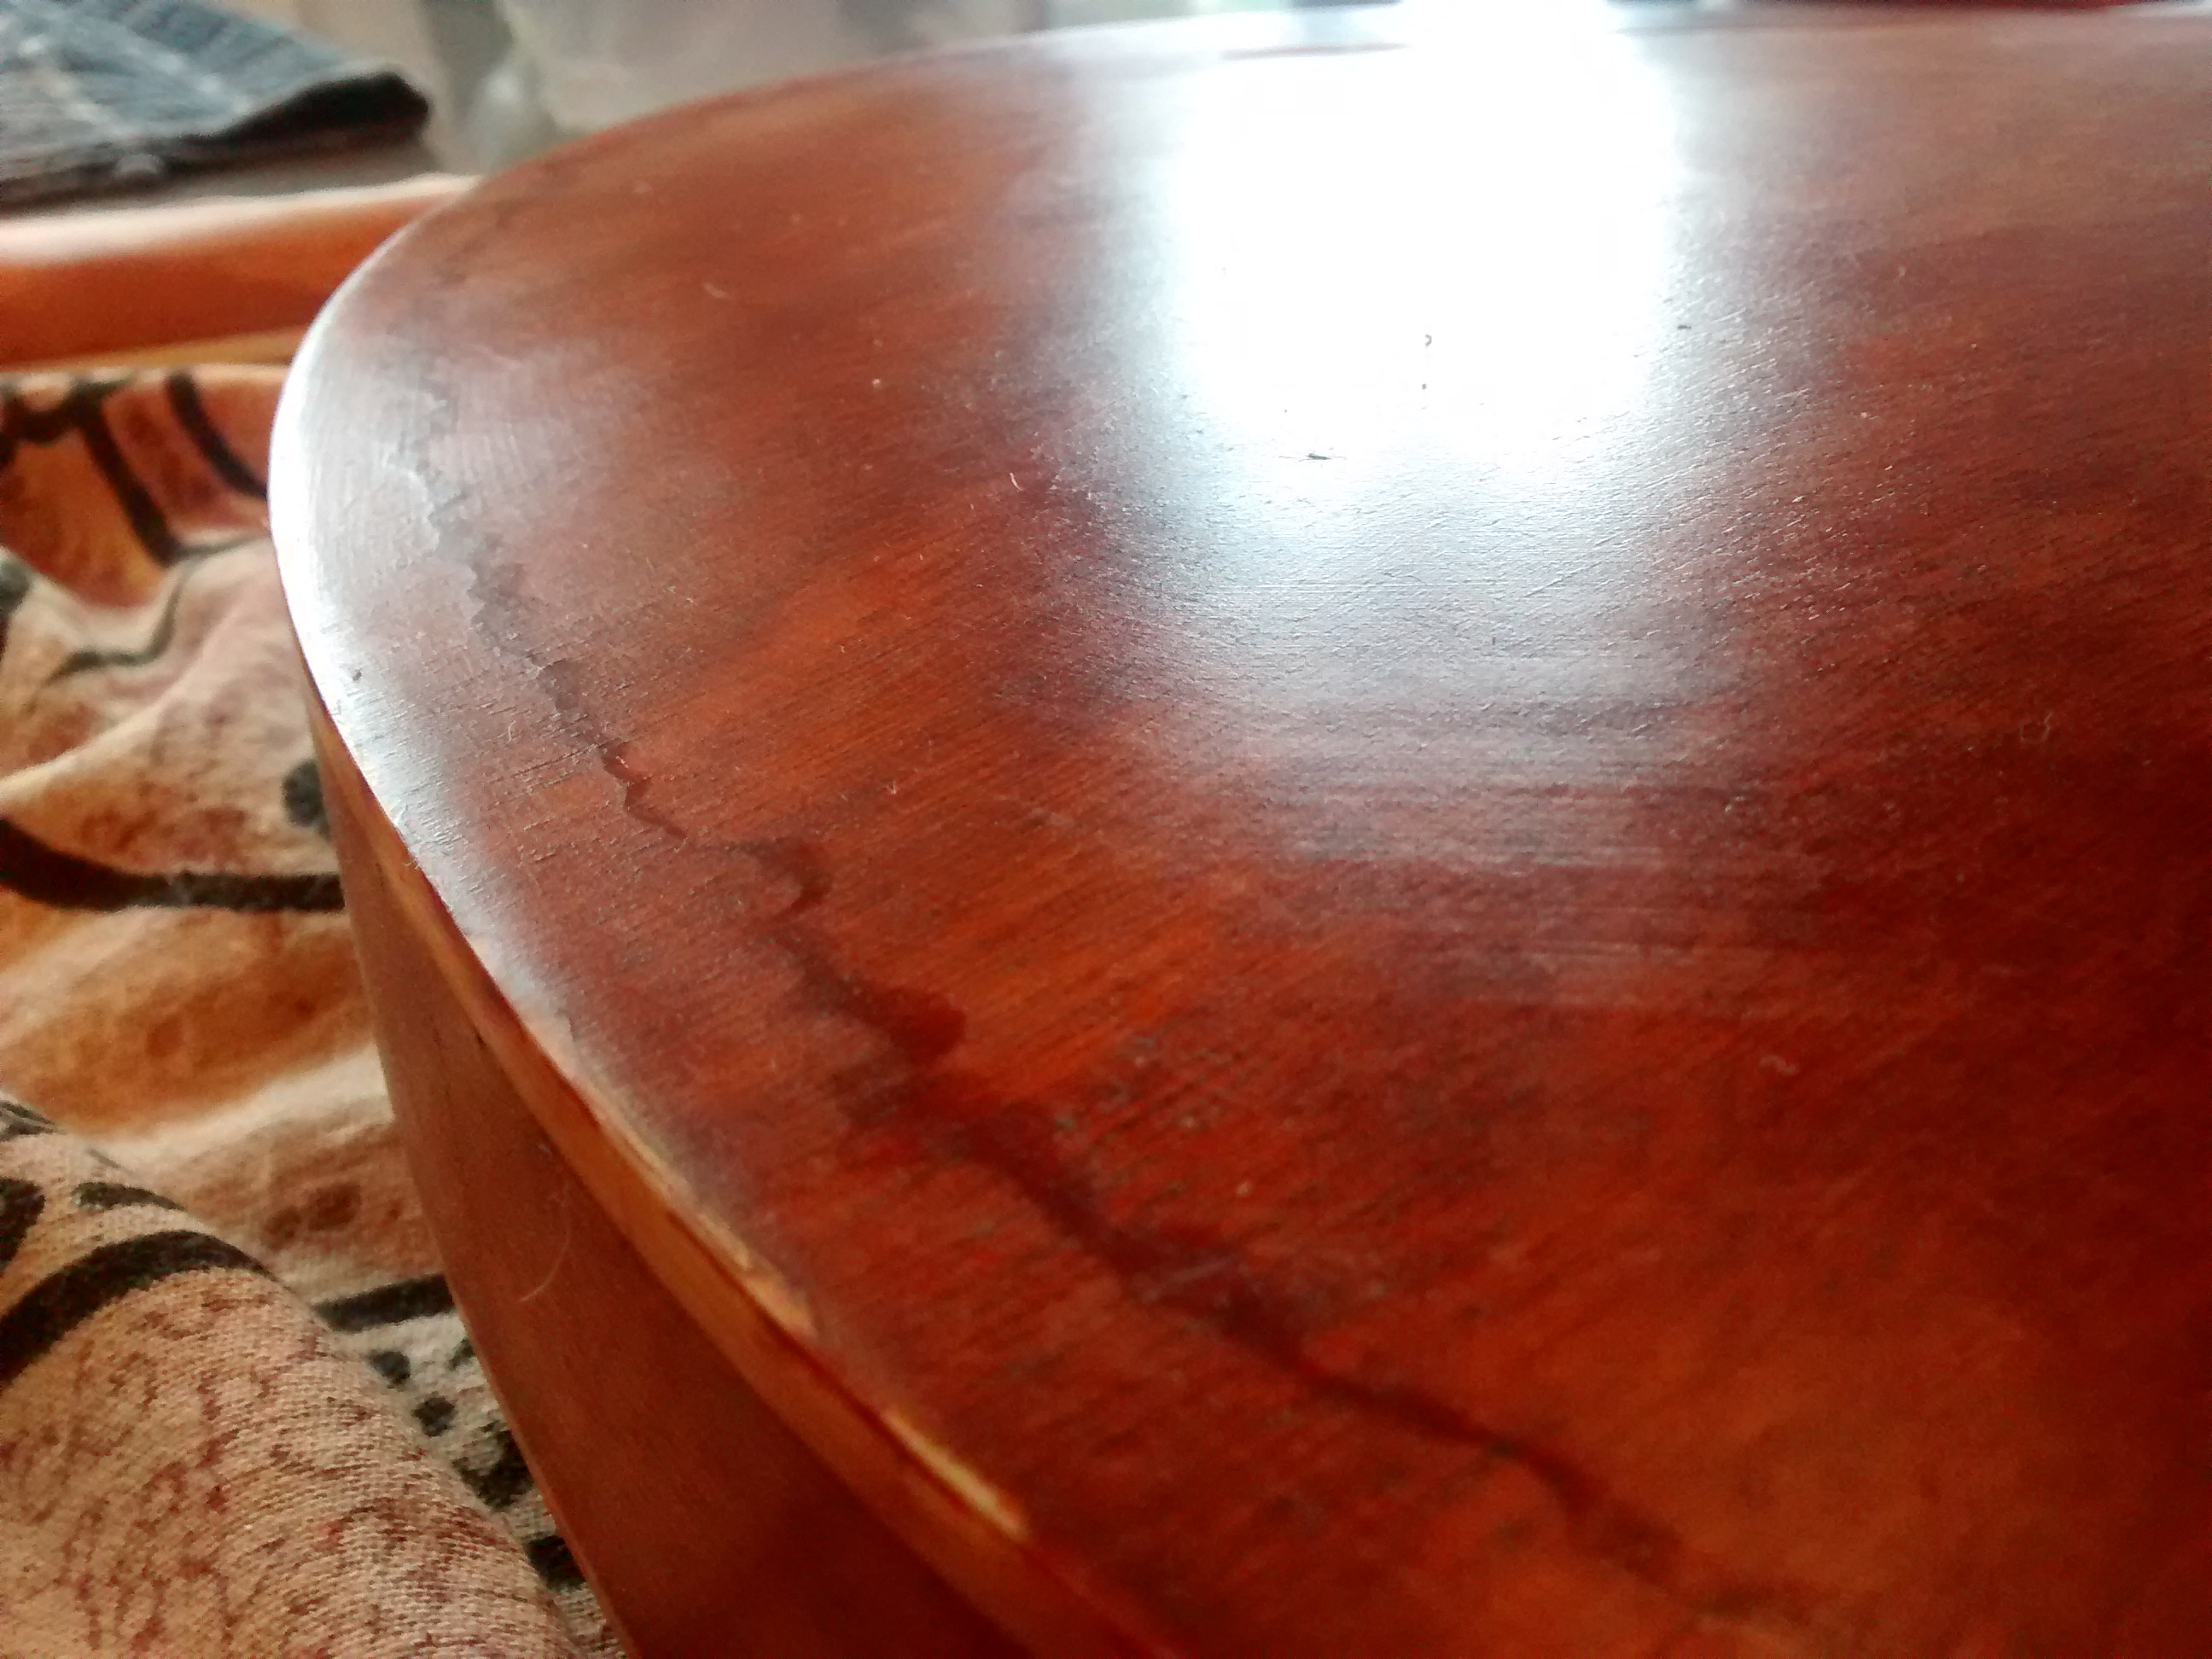
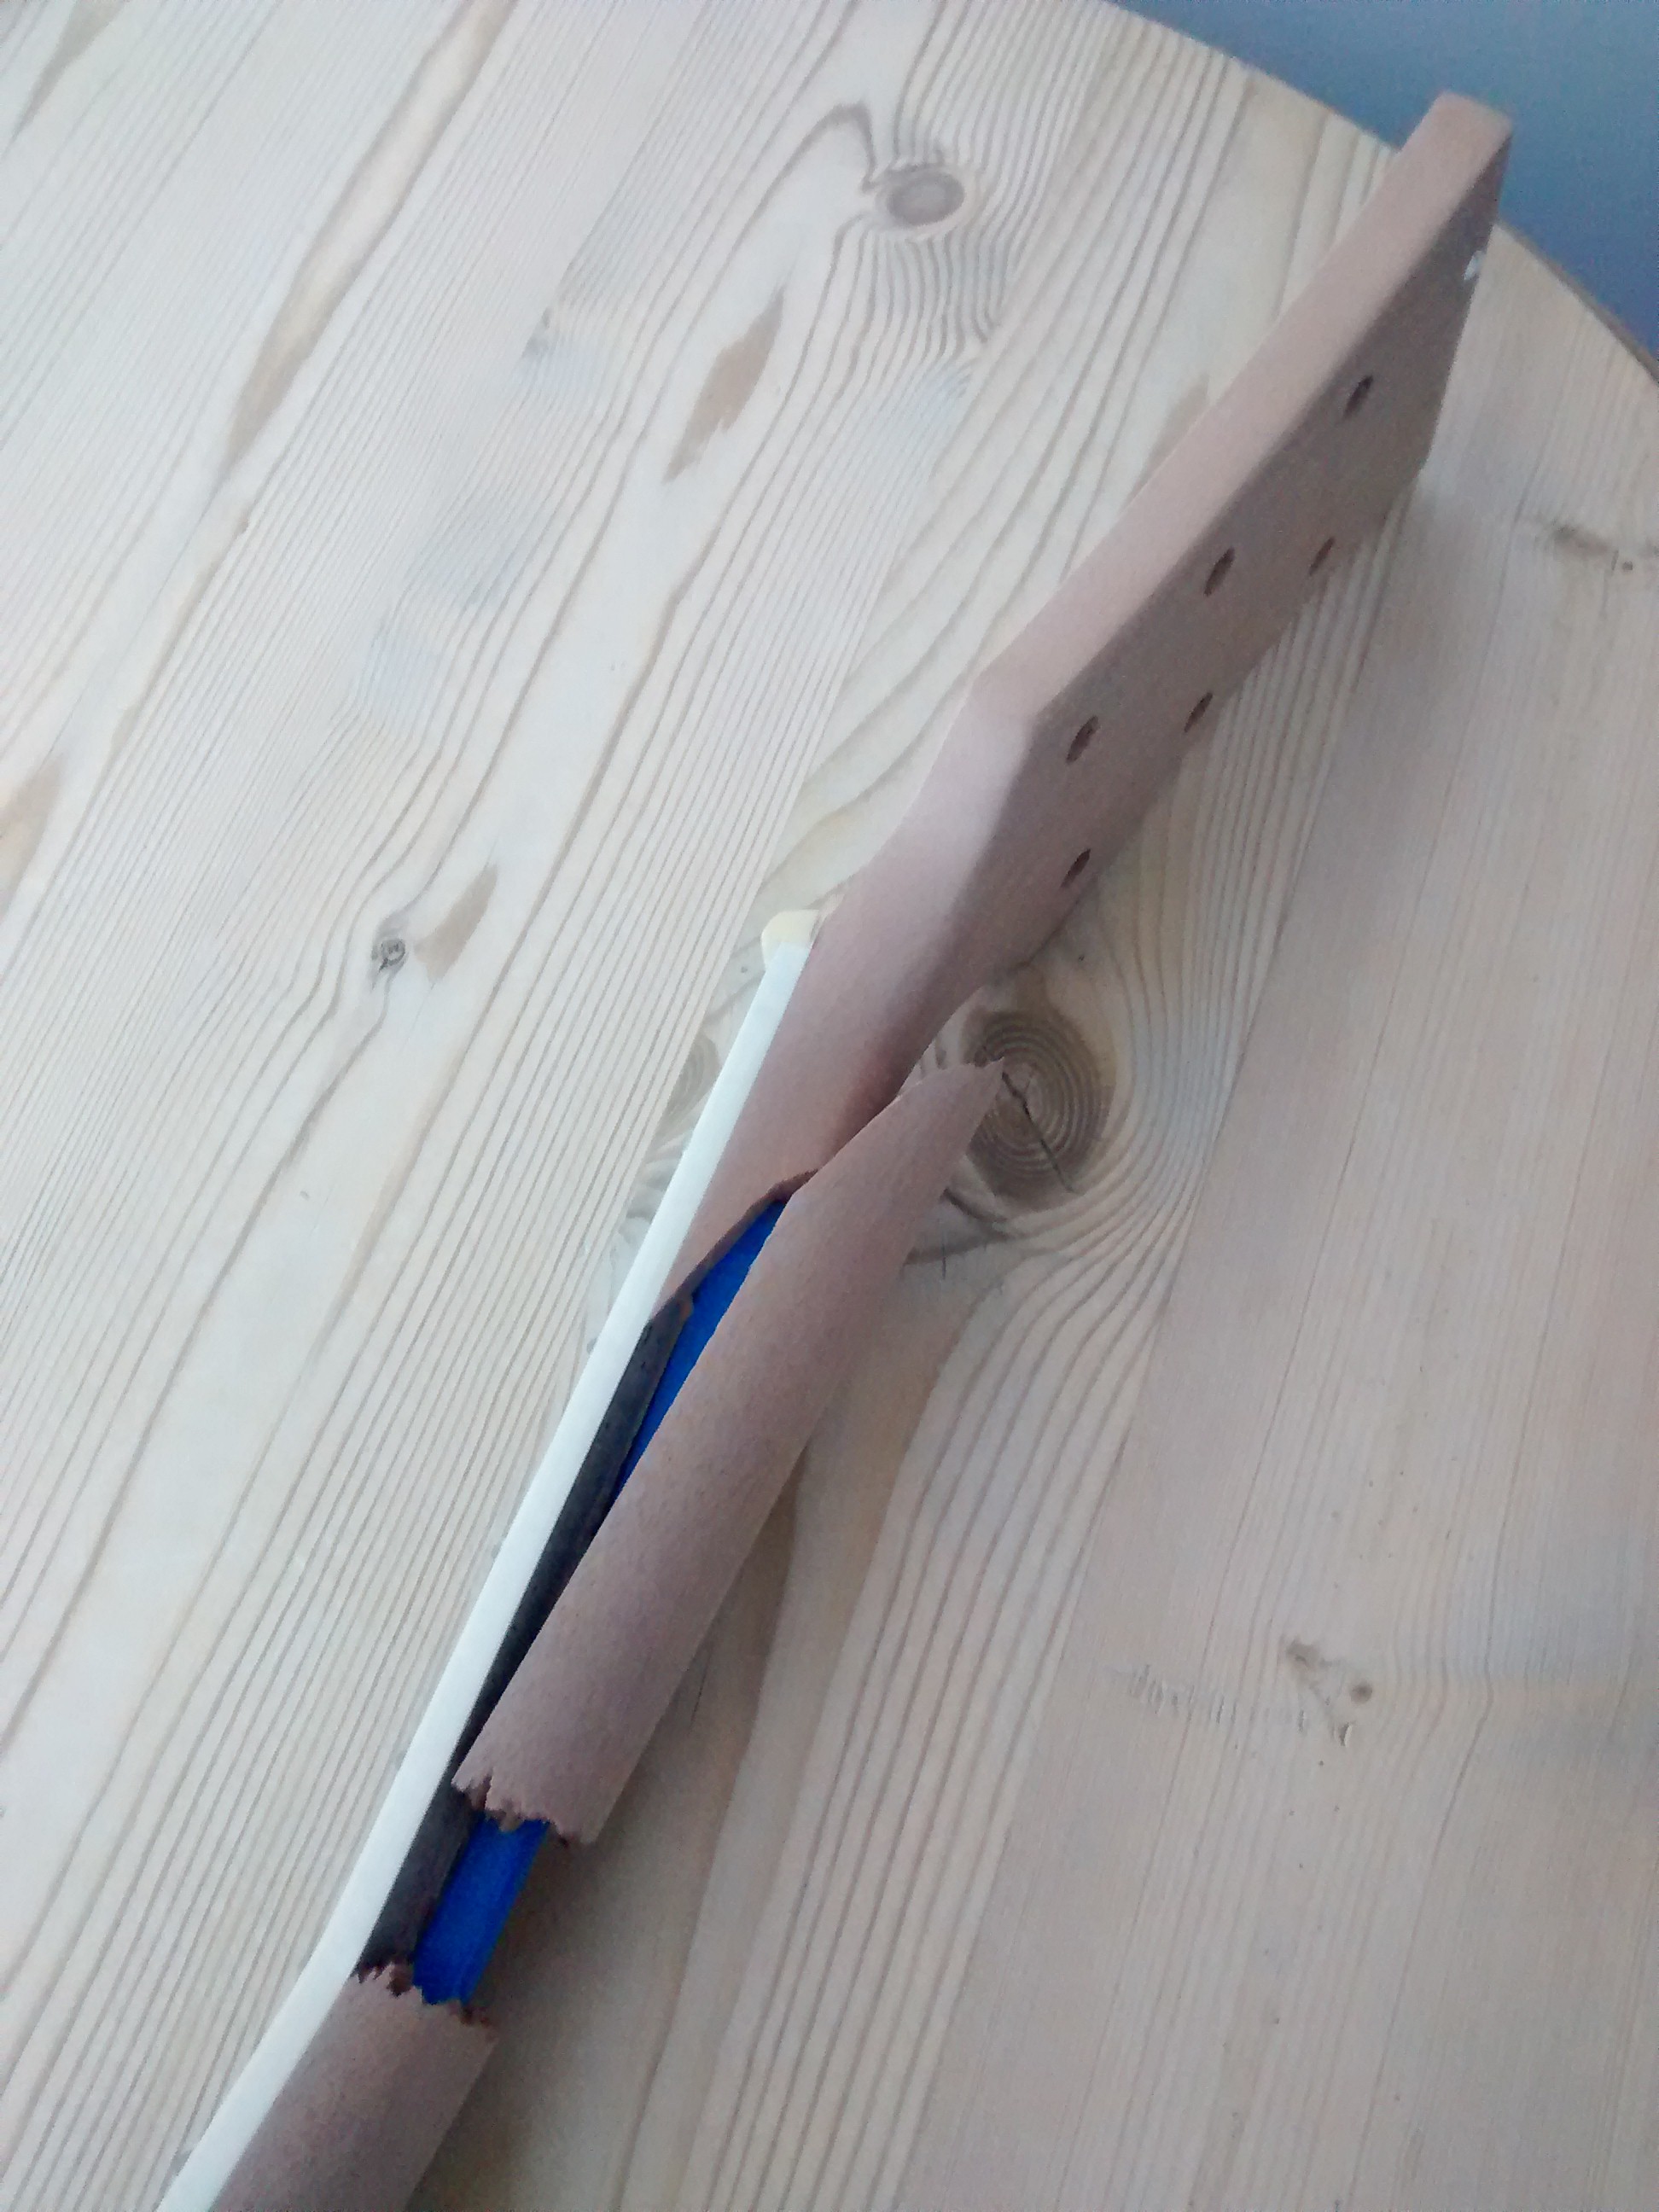
What I decided to go with is an under-stain to emphasise the grain pattern. So with some stains from above mentioned Crimson I’ve been doing some stain tests on old cut-offs from putting up some shelves. What I’ve ended up with is this:

It’s a black stain sanded down so the black sits in the grain with a blue stain on top.

This is unfinished. With oil on top it’ll shine and it looks almost iridescent.

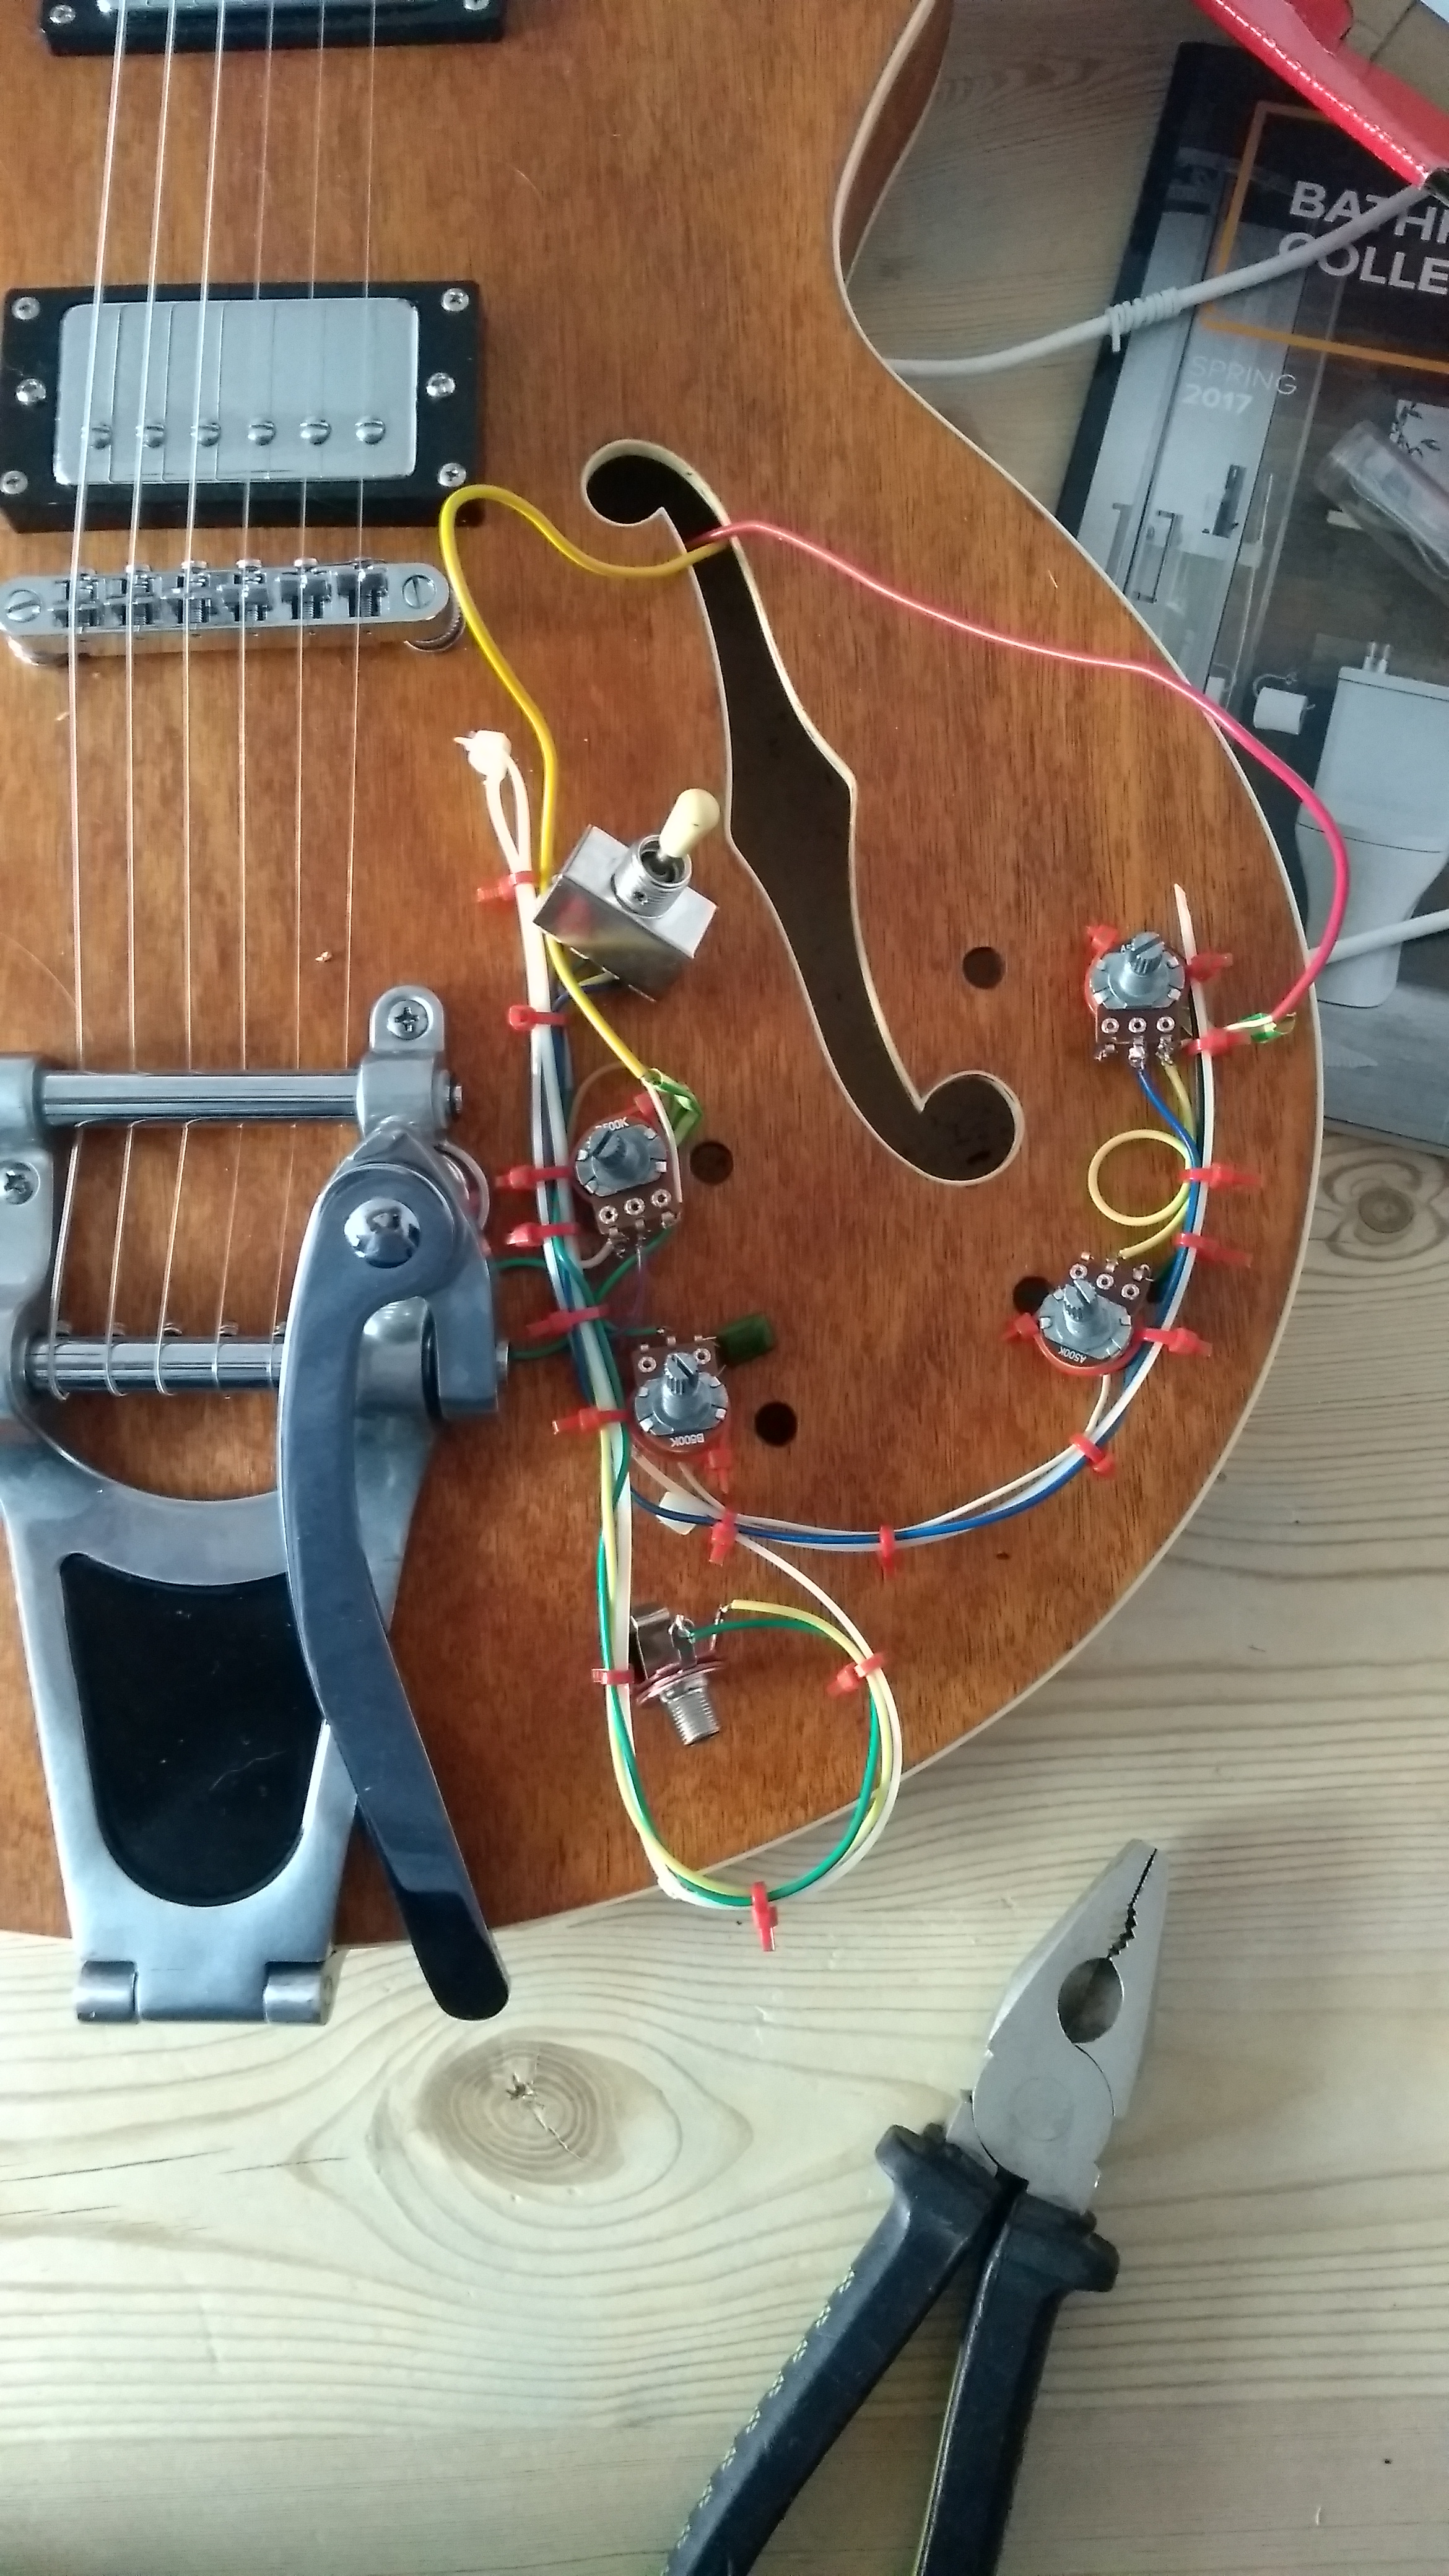
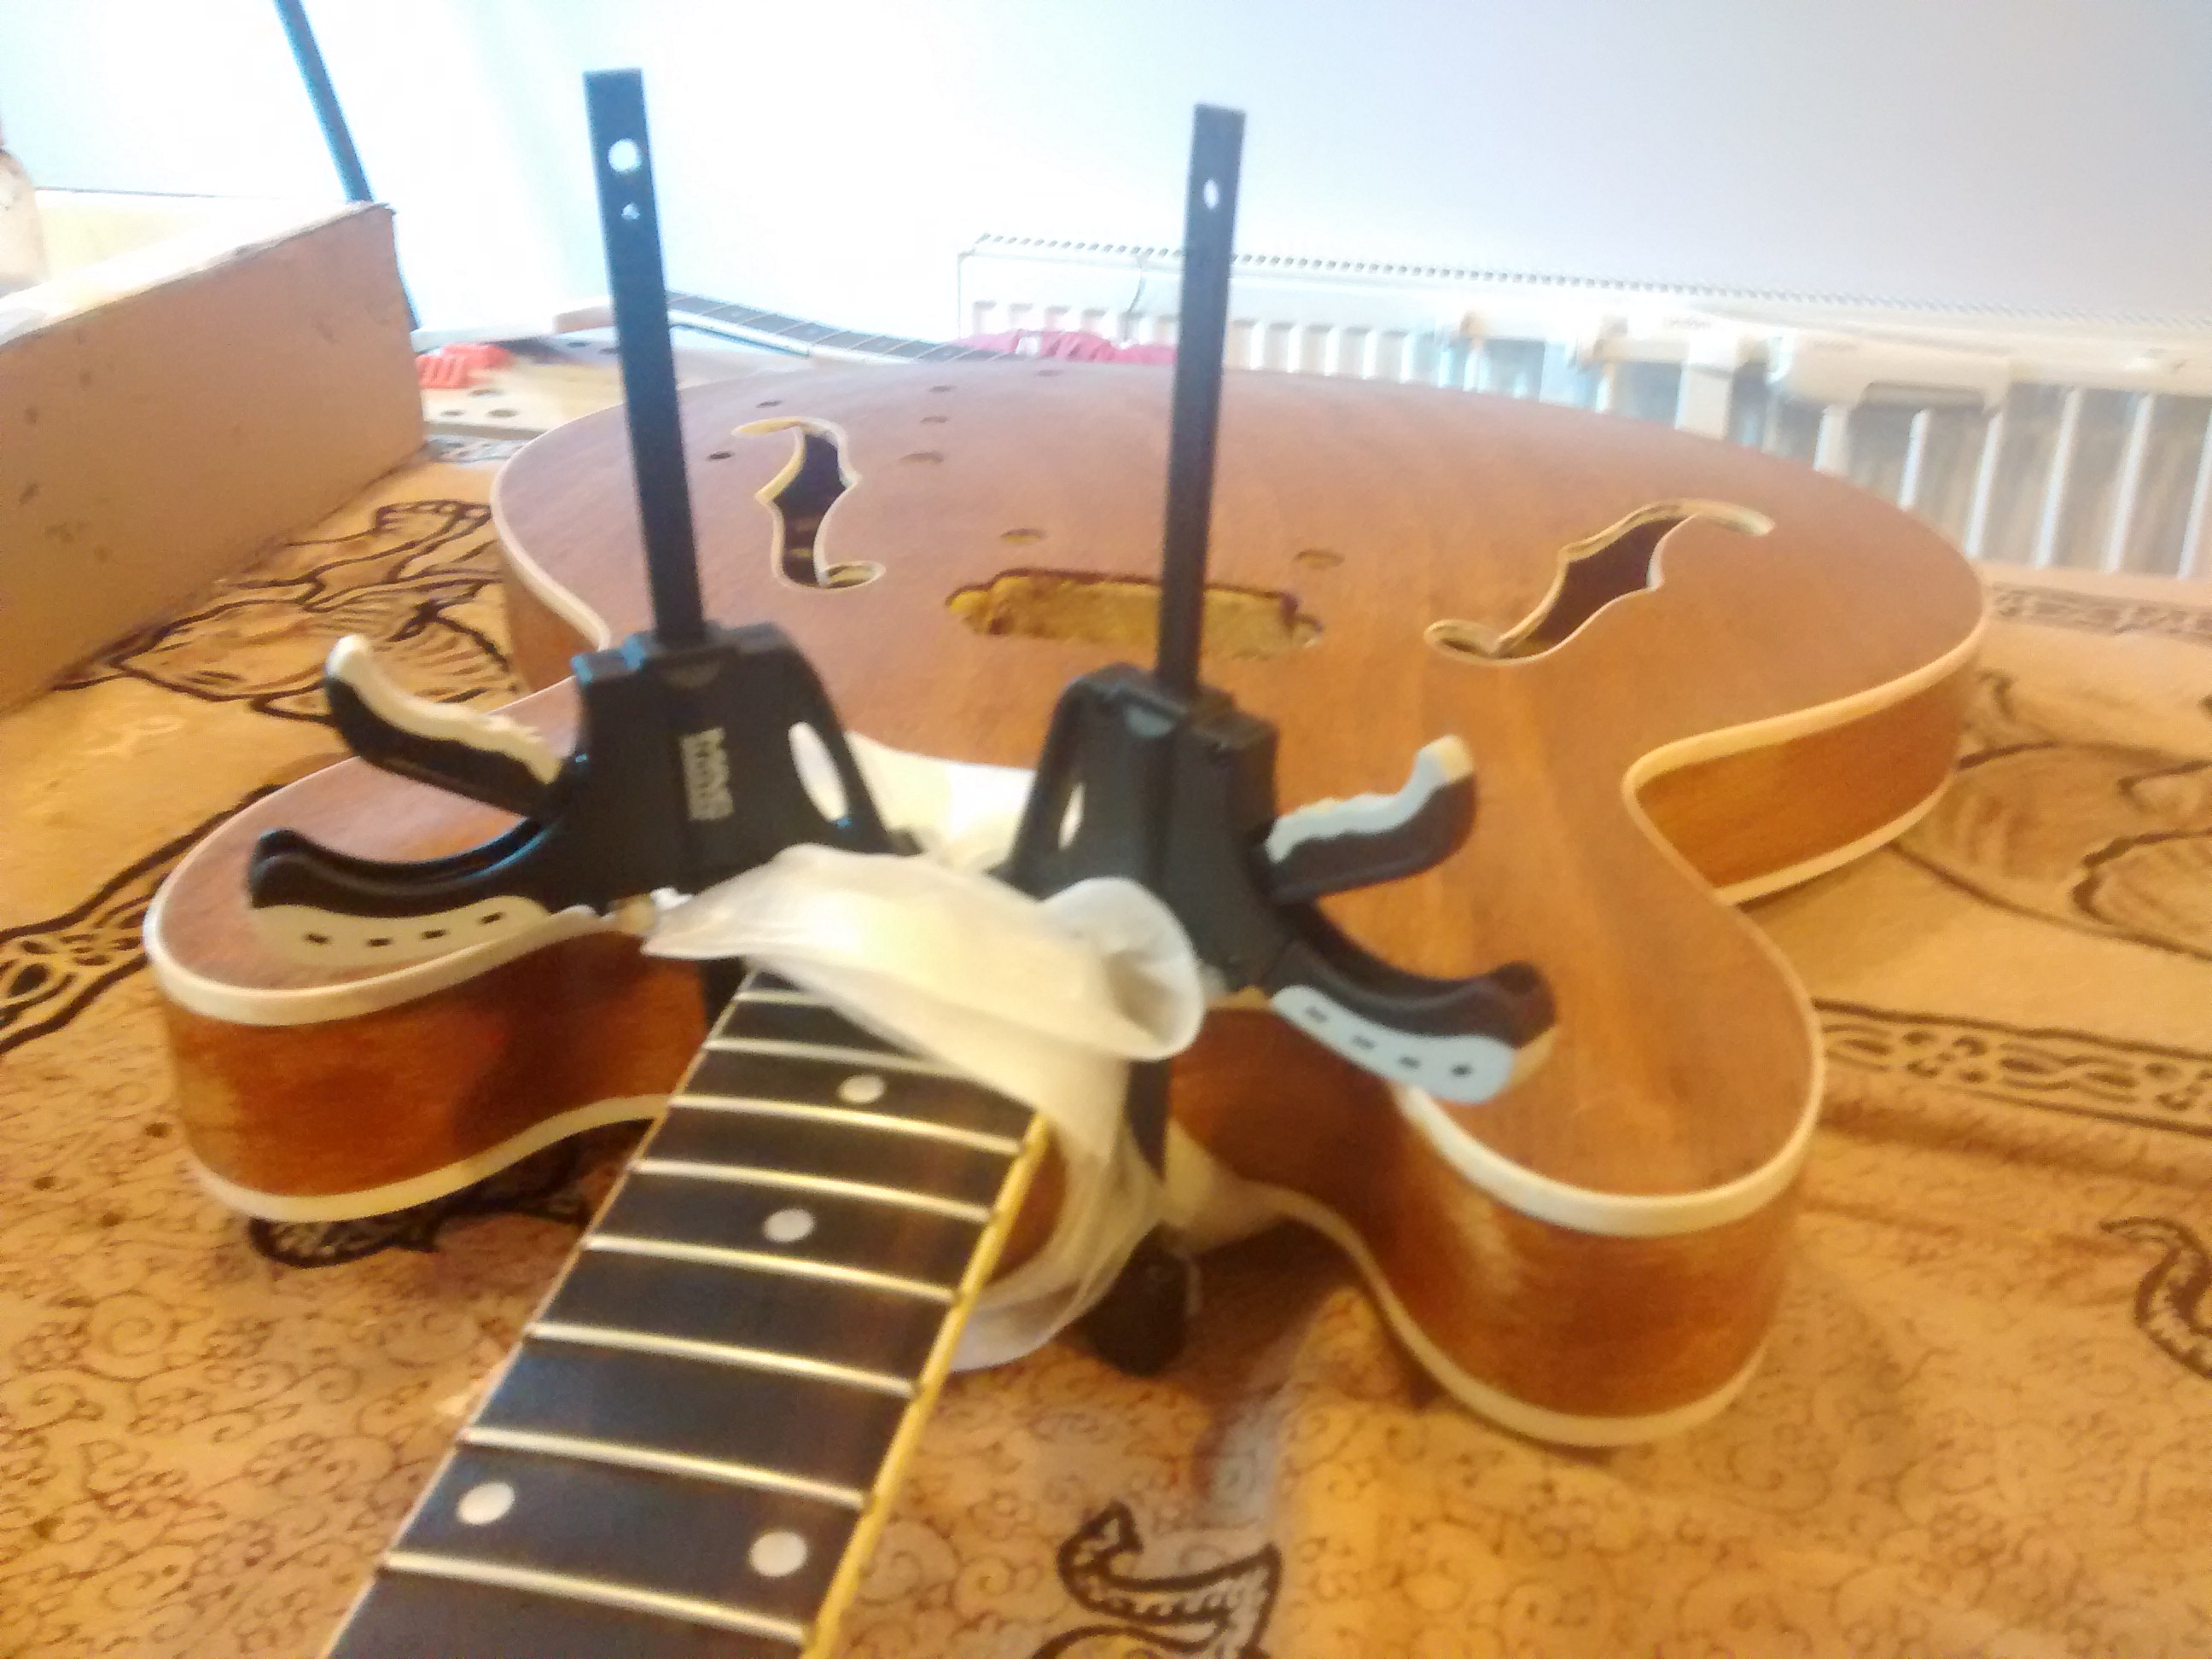
So with a last bit of sanding I think I’m finally ready to start on the guitar.

The body and the stain test.

DIY guitar – the wiring day 2

Wiring harness in place

Initial wire harness

Initial wire harness

The YouTube video then had another brilliant idea. You mount all the wiring on a harness made out of cable ties meaning that you have a relatively strong but flexible support framework which stops you pulling on the wire core or solder joints.


Mid progress wiring harness

Mid progress wiring harness

This harness gradually gets more complicated as you add more wires and more components. I didn’t get a wiring diagram with the kit – just a bag of components – so I had to do a bit of research and there are a lot of different approaches to this. Eventually I found a diagram that matched the collection of components I had.


Wiring harness in place

Wiring harness in place

After a lot of soldering and a lot of trips up and down stairs to the amp to check if things were working I ended up with this:

All the components on a flexible cable-tie harness outside the body but all sitting in the right place above their corresponding holes.

Next step is to tie them all to strings and feed them into place – but that’s for another time.

DIY guitar – the wiring day 1

Components in place front

Tracing of component layout and f-hole

Tracing of component layout and f-hole

On to the wiring. My other guitar is a Les Paul which has a handy hatch in the back. You take out 4 screws and the back of all the knobs is revealed. A 335 is a bit different. The back doesn’t open.

Having spent some time on YouTube I found a few videos explaining how I was going to have to do all the wiring outside the guitar and then poke it through the f-hole and somehow get the knobs to come back out through the various holes.

Step 1 was making a template by drawing the location of the holes and the f-holes.


Components in shoe box

Components in shoe box

Having done that you mount it on the inside of a shoebox lid, make some holes in the right places and poke the components in from the top. Then what you have is the front of the guitar inside the shoebox lid and the terminals of all the components in the open on the top of the shoebox where you can get at them.

DIY guitar – the hardware

Finished the hardware

Finished the hardware

Fitting all the hardware went pretty easily in an afternoon. After the trials of the stain and the gluing I’d expected problems but all this stuff just plugged in and after about an hour I had a playable guitar with just the wiring left to do.

DIY guitar gluing the neck

Gluing the neck

Gluing the neck

Having removed the tide-marked woodstain and got a finish I was pretty happy with I moved on to gluing the neck in place. Pretty straight forward but also possible to mightily screw up. I bought some nice clamps, and then whimsically decided to do it in about 5 minutes on the way out the door.

It was all going pretty well until I realised I’d glued the neck in completely the wrong place obscuring one of the pickup cutouts and obviously changing the length of the neck in the process.


Ungluing the neck

Ungluing the neck

I read quite a lot about whether it was possible to break a glued wood joint – most of which said it wasn’t. With a butter knife, some white vinegar, perseverance and about 2 weeks I managed to gradually work the neck free and it cleaned up pretty nicely.

DIY Guitar the story so far

Tidemarked edge

Tidemarked edge

So building this guitar I’ve gone down a few blind alleys. Here’s the first. My original plan had been to achieve a kind of starburst type blended finish by gradually changing the blend of woodstain and linseed oil between the middle and the outside.


Dodgy tide mark

Didgy tidemark closeup

That didn’t work!

So then I tried putting some more woodstain on around the edge to see what that would do. It did this:

So then I spent some time rubbing that back off again. Which went surprisingly well.

DIY guitar project: day 2

First coat body front

First coat body front

Admittedly not actually day 2 – a week after day 1 and a week ago today. Not really got the hang of the whole internet immediacy thing yet. Anyway here’s what it looks like after a coat of oil and wood stain. So it’s a mixture of walnut wood stain and boiled linseed oil so it looks old and smells like cricket. Like I imagine Geoffrey Boycott does.

First coat body back

First coat body back

Did the back first just in case anything went badly wrong but it all went pretty well so far. I’ve got quite a few more coats to do but the longer that takes the longer I have before I have to learn how to solder and do the wiring. Here are some more photos.

The shine on the edges

The shine on the edges

First tentative dabs

First tentative dabs

DIY guitar project: day 1

DIY guitar project: day 1

DIY guitar project: day 1

I had a bit of an anxious wait while I discussed getting a replacement neck sent from California but Albatross Guitars have been brilliant and my new neck arrived just before we went on holiday.

Just back and decided to lay the whole thing out and look at it. Am a bit over-awed. Unlike my current Les Paul, there’s no access panel in the back of the body so all the wiring has to be done outside and then inserted through the f-hole on the front and man-handled into place.

I’ve been watching a bunch of YouTube videos about how to do that but first things first – I’ve got to stain it, finish it and then glue it together.

It’s kind of a Gibson 335 and I’m aiming for a natural walnut finish – so it should be a bit more weathered than Lucille.

This is what I’m aiming for:

Hopefully it should end up looking something like this.

New project – almost aborted at first step

The broken neck

Damaged in transit

So I bought a DIY guitar kit from Albatross Guitars on ETSY. The body and neck come pre-built but unfinished and you have to finish it, glue it together and then there’s just a bunch of wires and components and you have to do all the wiring yourself.

The kit comes from California so I was eagerly awaiting the post for some time whilst it was shipped over and then while it cleared customs and then while I arranged a delivery slot.

It finally arrived and my heart was in my mouth because there was a big gash in the side of the box. On opening it up the neck was completely snapped with the big metal bar that runs through the middle of it bent. It must have been run into by a fork lift truck or something to do that much damage.

Work in progress

Lunarfish is always a bit of a sideline. I’m trying to update Lunarfish to be more current and as a bit of an archive of all the IT-monkeyery that I seem to be intent on spending my time on – the stuff I get paid for under Work – and the stuff I spend my spare time on  under Curiosities.